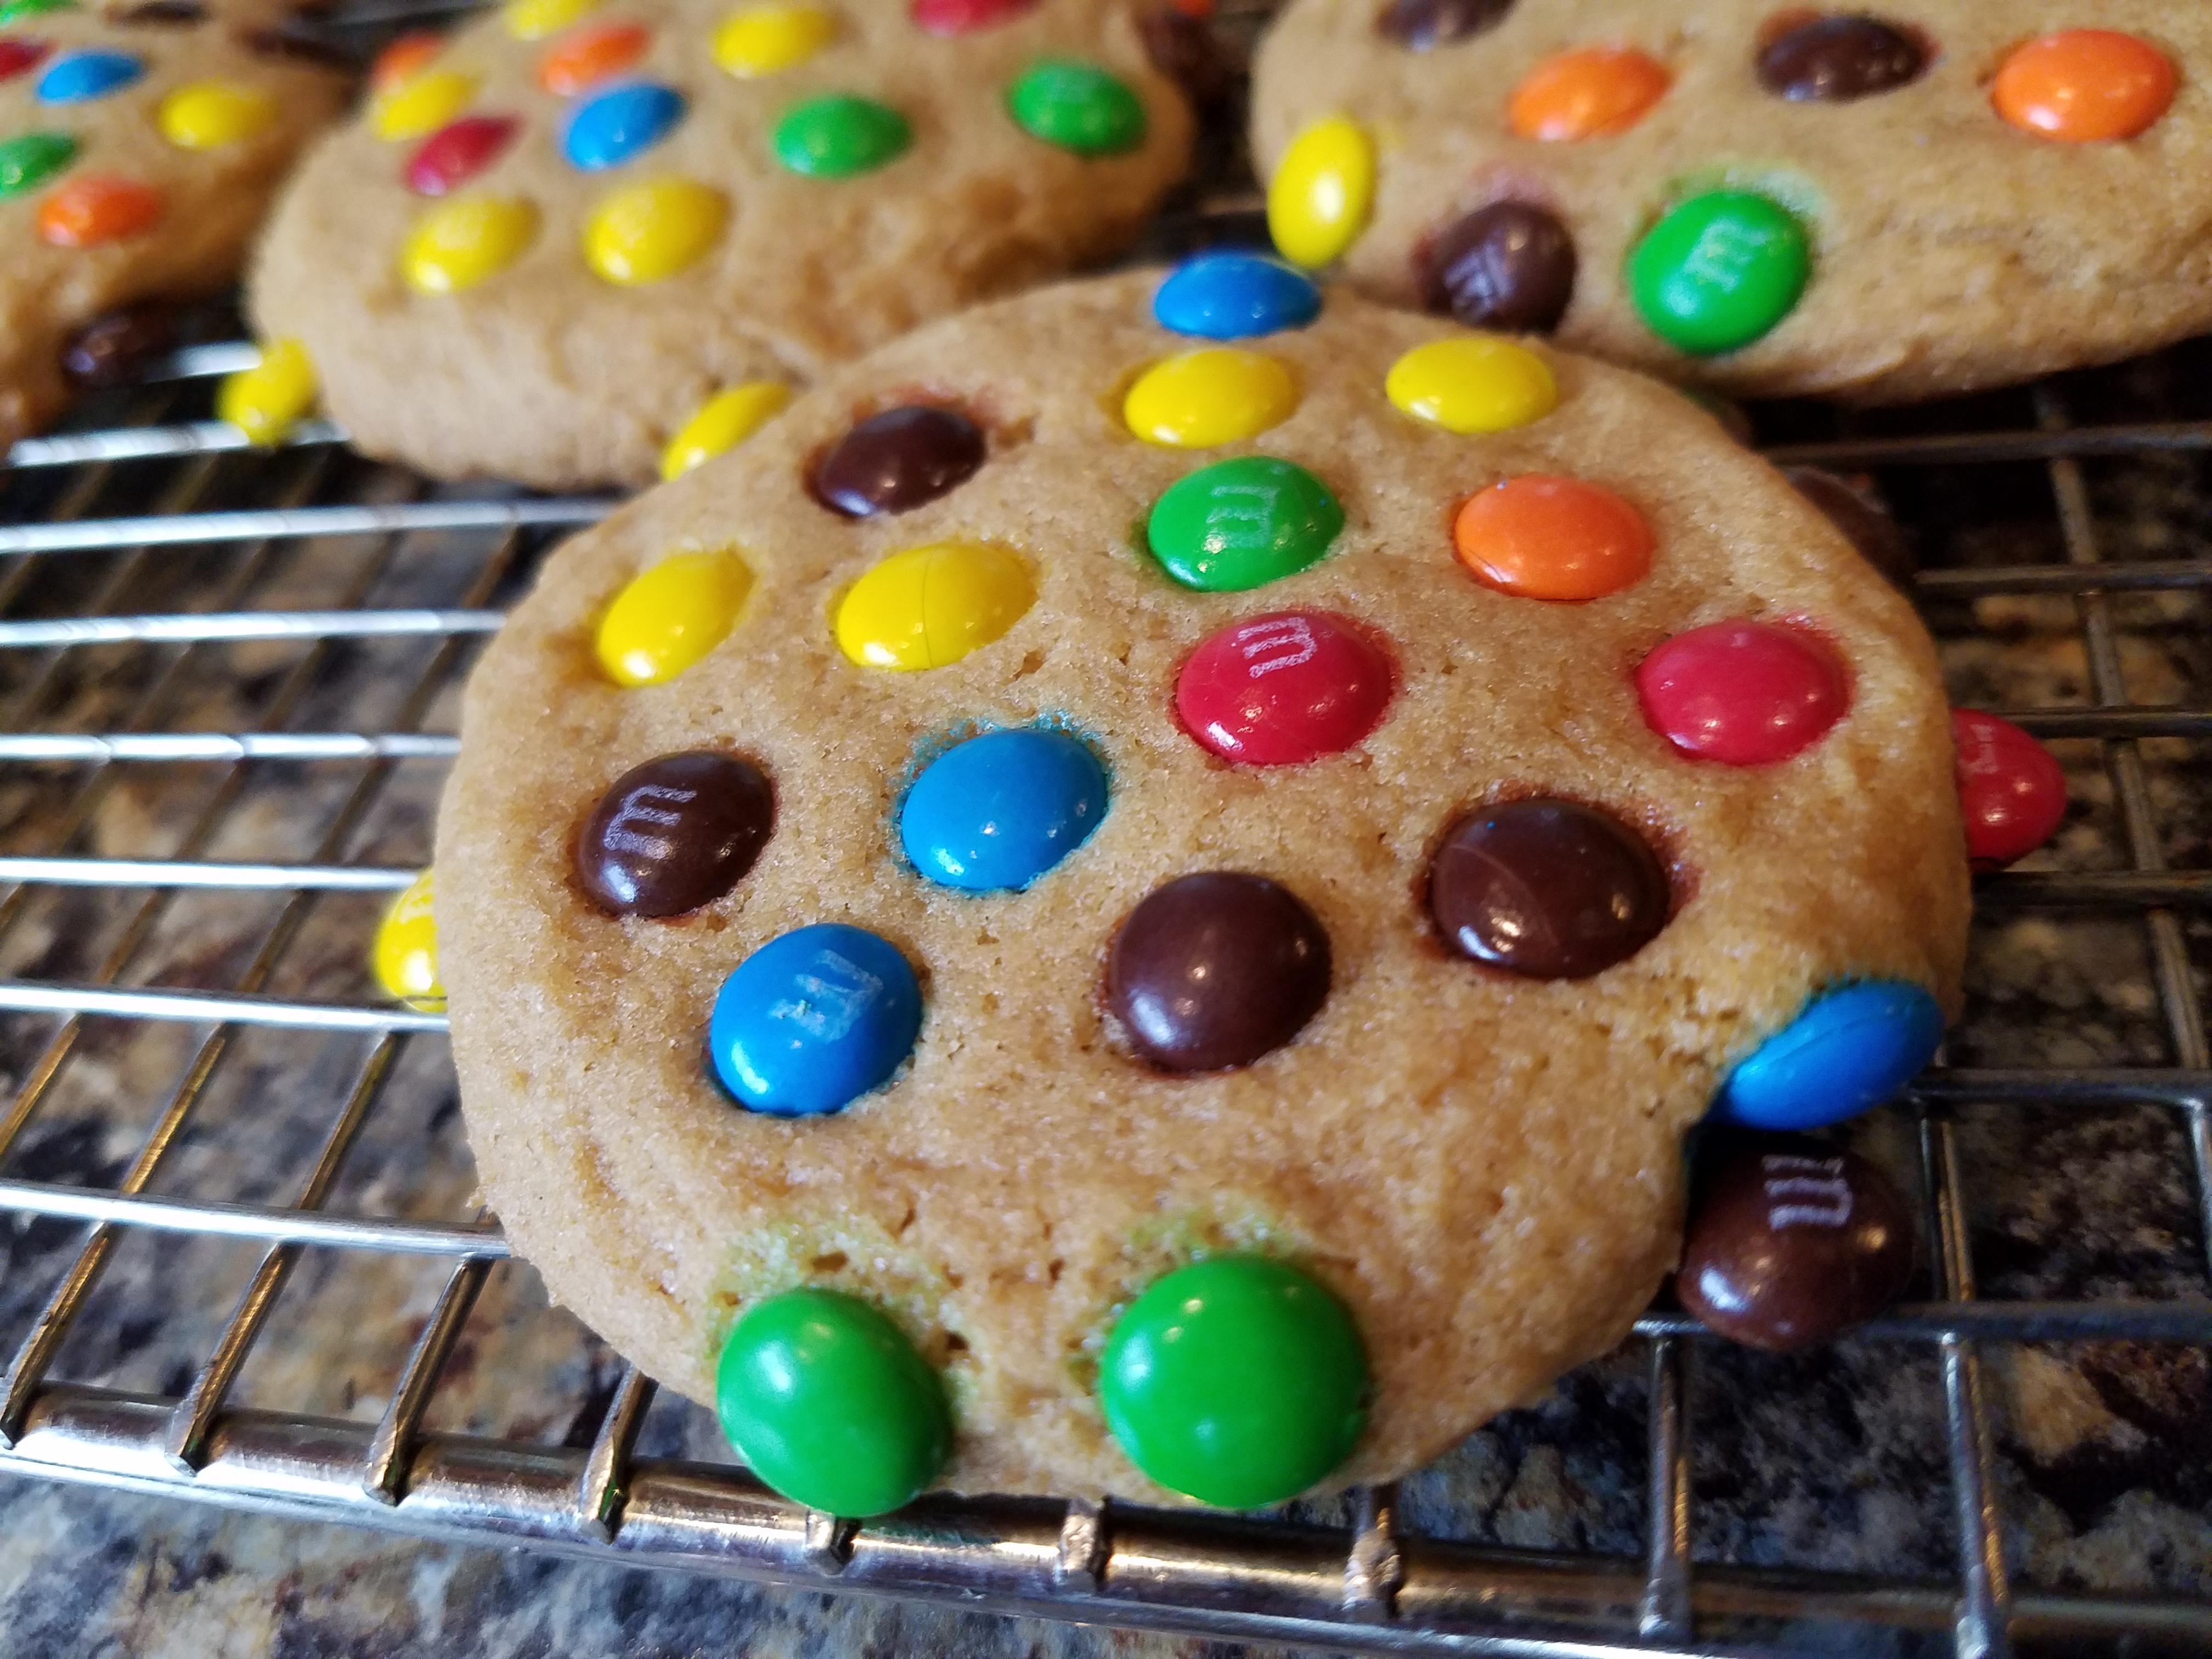
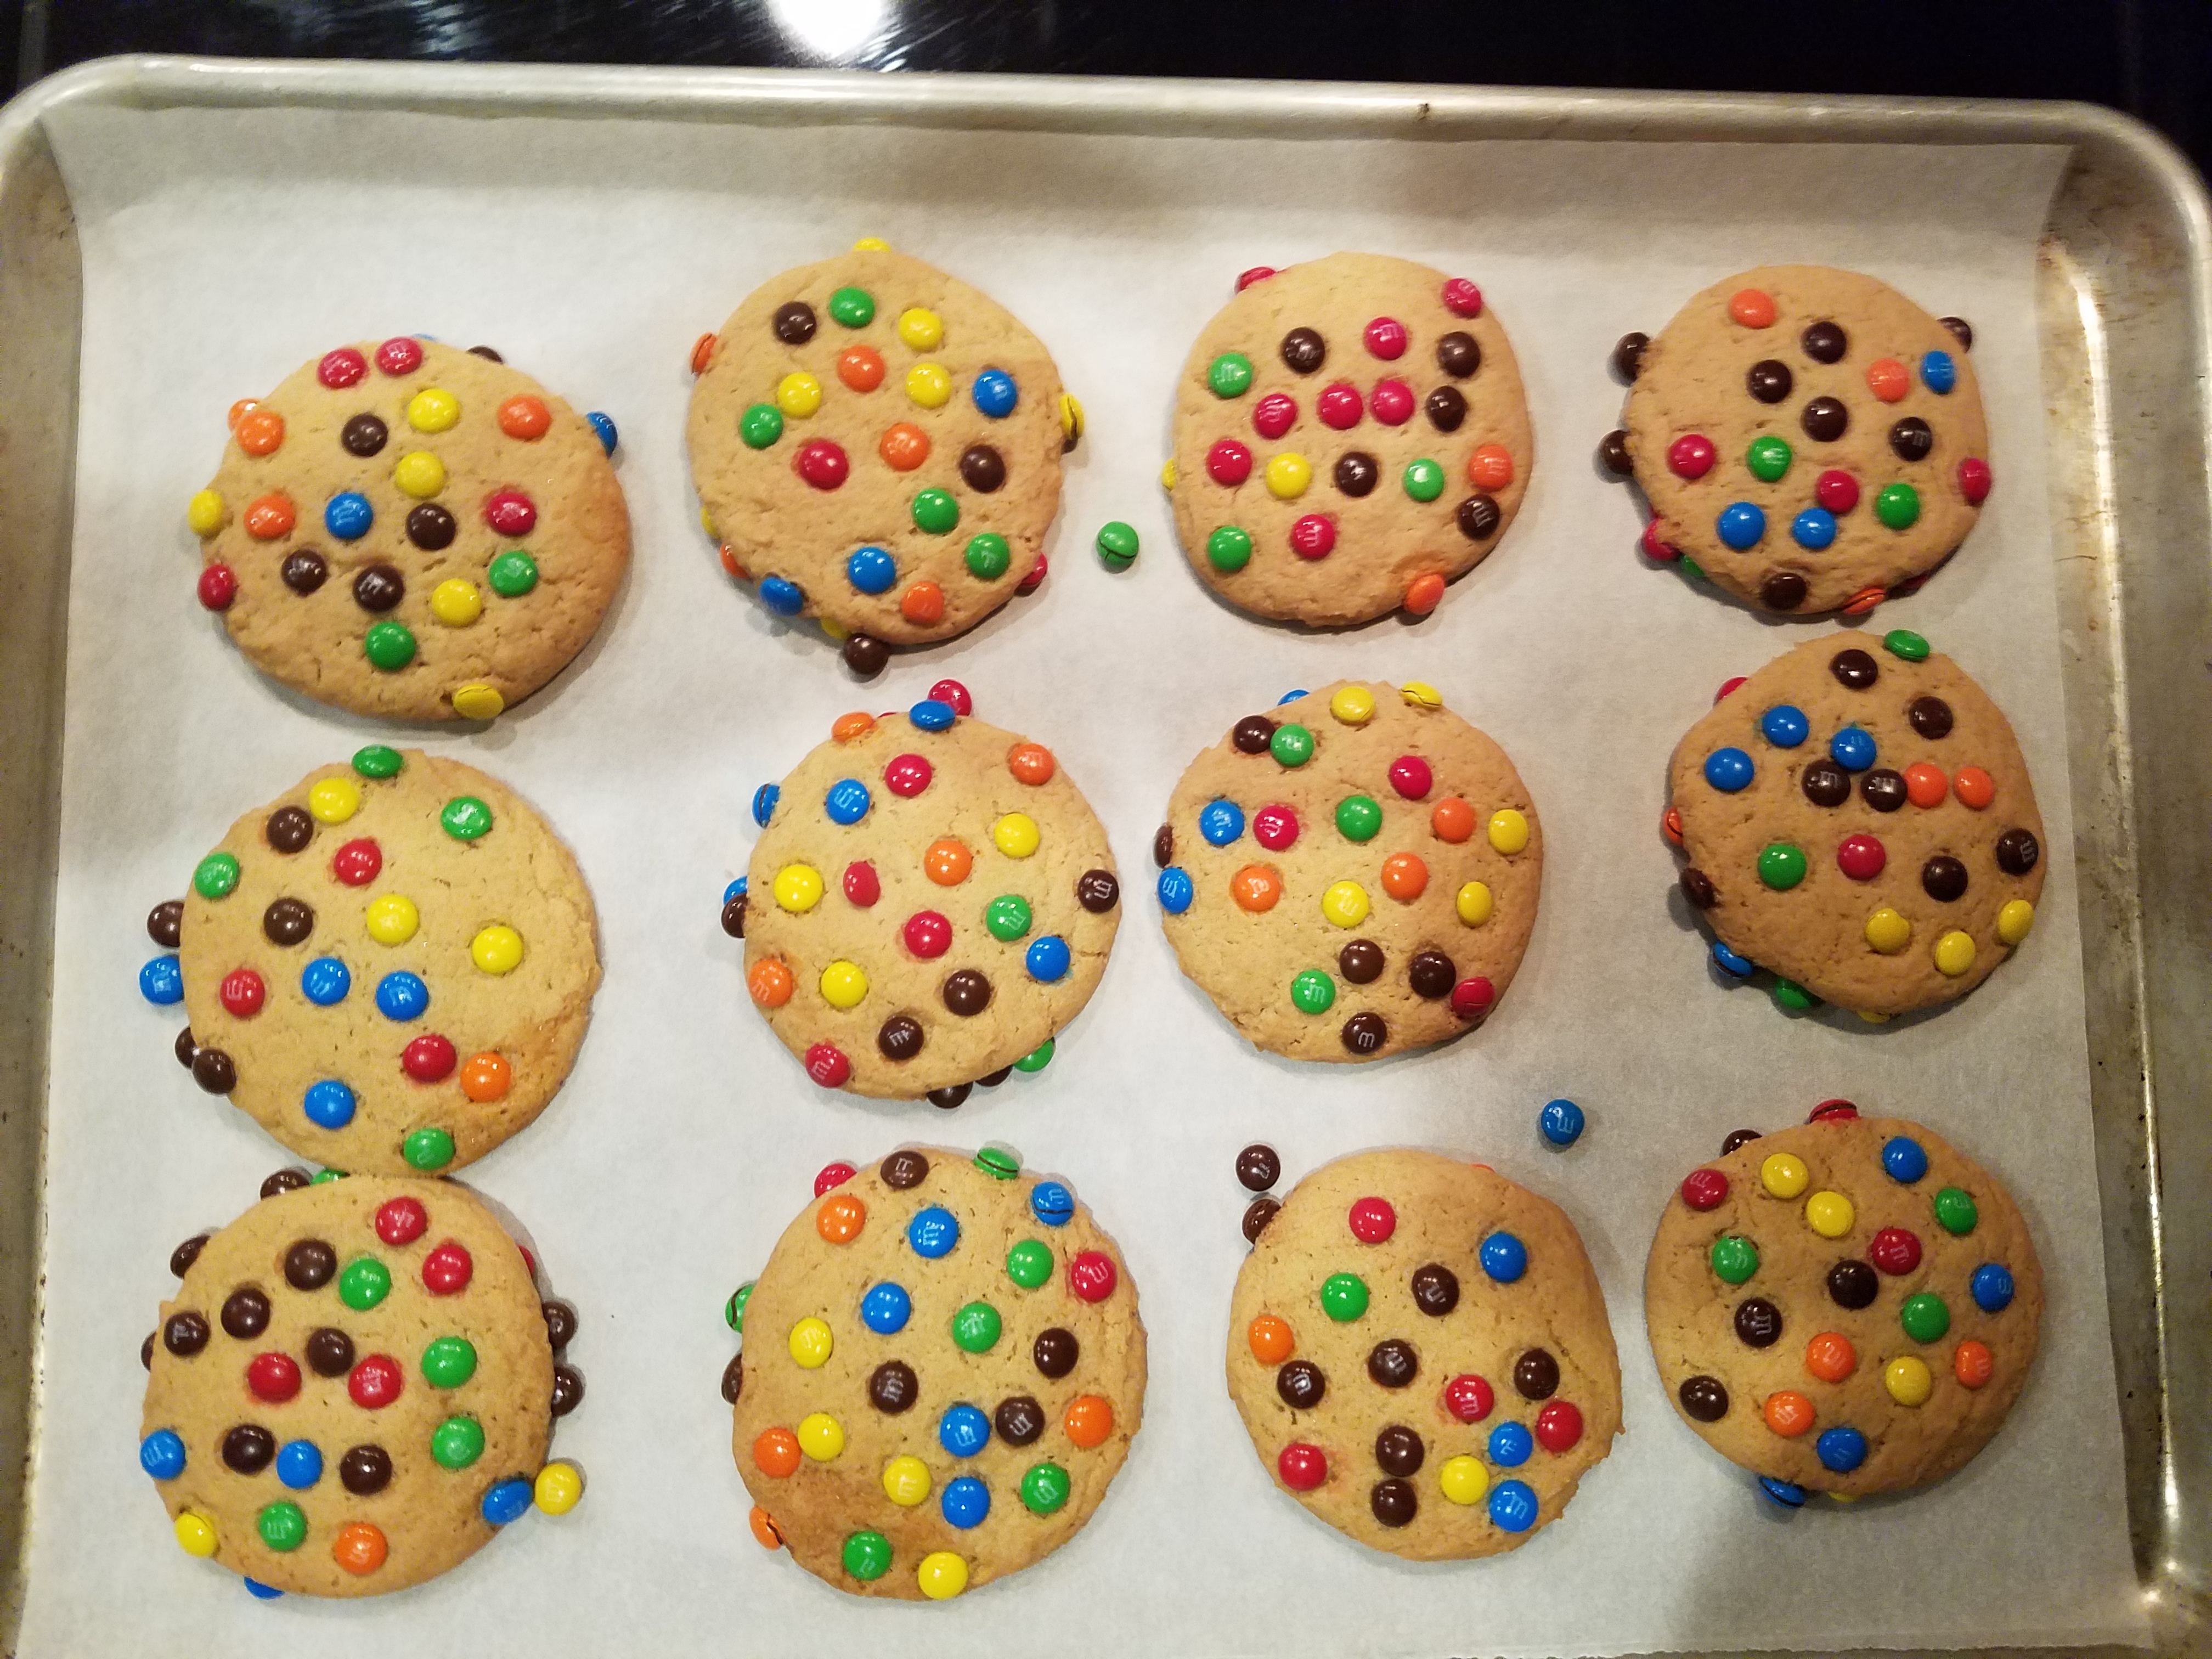
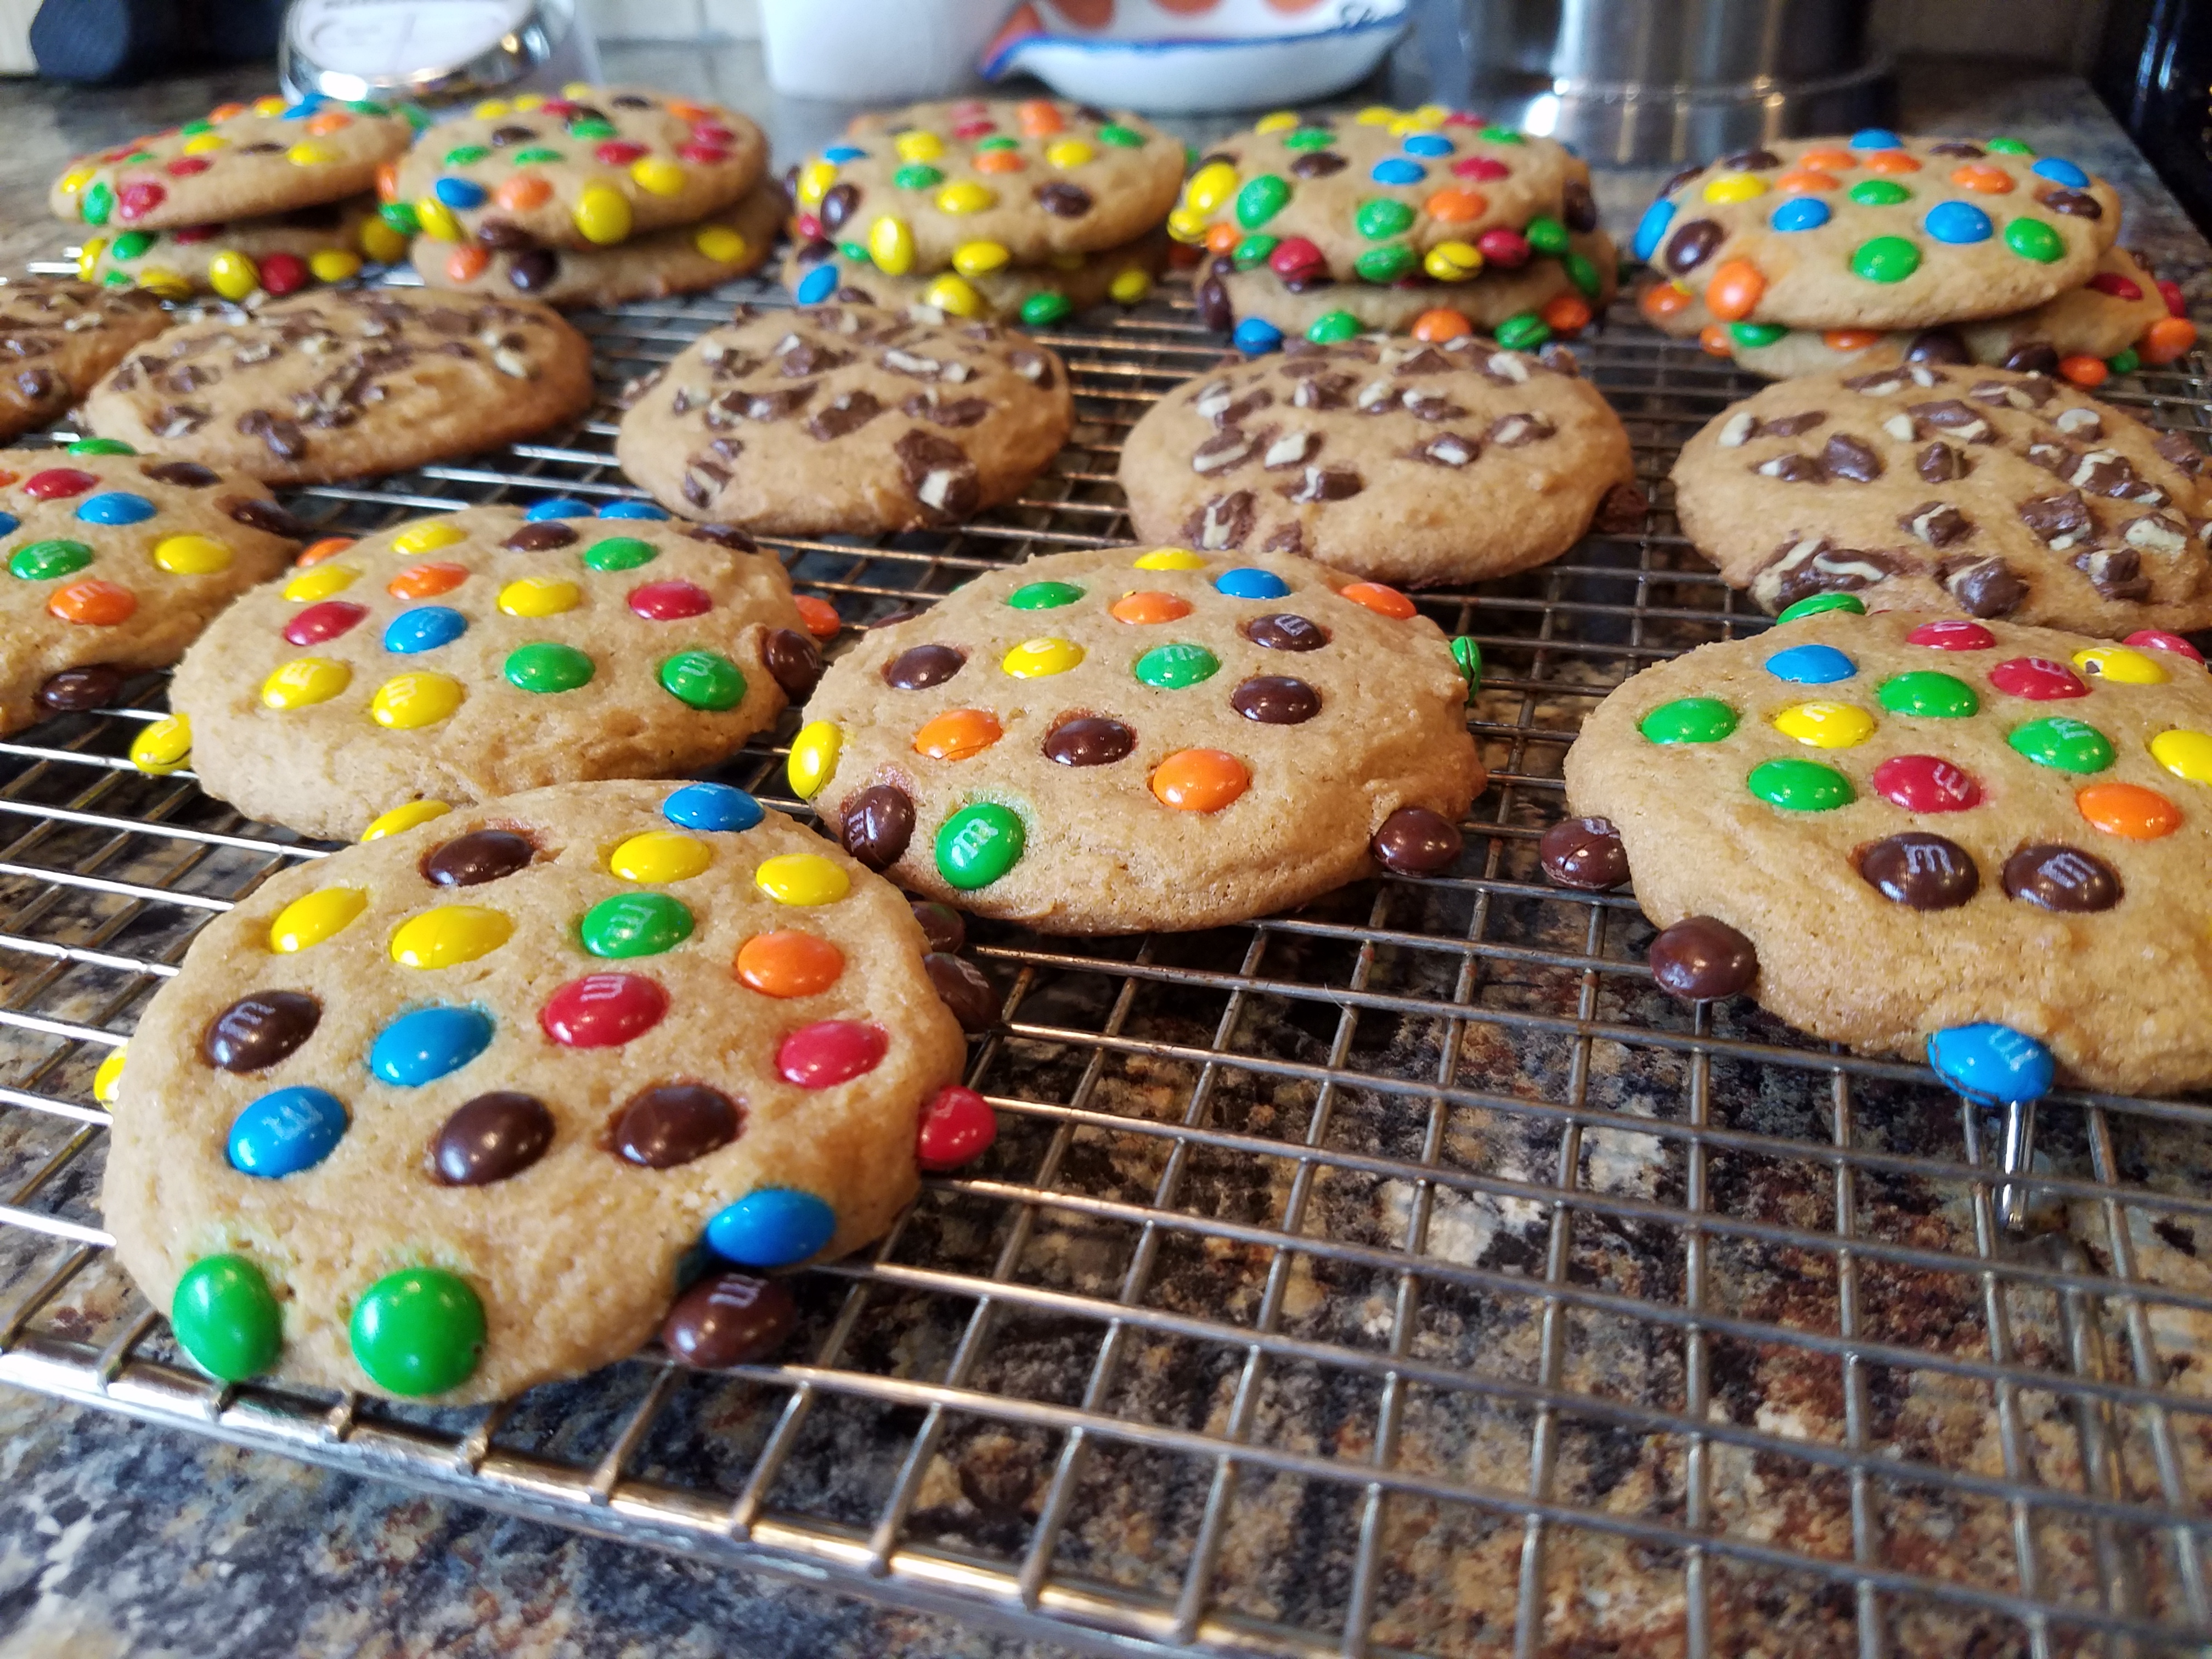
Here is another cookie recipe for you, and this one is a classic. These candy-topped cookies are soft, chewy, sweet but not cloying. Kids love helping with making them, and everyone loves eating them. The best part of this recipe is how versatile it is—you can add stuff to the dough, put stuff on top of the cookies, or any combination of the two. So without further ado, I present to you the candy-topped cookie recipe.
I guess to start with is an important note about what separates this cookie from a traditional chocolate chip cookie. The Tollhouse chocolate chip cookie recipe has a high percent of both white and brown sugars, lots of butter, and an excess of baking soda. The resulting cookie bakes out thin, sweet, with a crystalline candy-like chewiness. I am a fan of these cookies and their nostalgic flavor, but they do not make good bases for a candy topping. The dough doesn't stand up to the weight of the candy pieces and they have a tendency to sink to the bottom. Tollhouse cookies also get hard rather quickly from the high amount of white sugar, and are prone to shattering after a few days. Not to mention that I find them hard to bake.
While I was employed with Lofthouse Cookies, I learned some fun food-sciency tricks to make your cookies stay soft and moist for a long time. The best part is that a lot of these tricks can be adapted to the home kitchen without searching out obscure or expensive ingredients. You may even have everything you need for these cookies in your pantry already.The two secrets to a soft and chewy cookie with a long shelf life (7-10 days) are instant starch and syrup. Seriously, that is it. We added those two ingredients to pretty much every single recipe at Lofthouse, and for good reason—they work really well together to keep your cookies soft.
But what do these ingredients actually do? That is the fun part.
Instant starch (found on igredient labels under the name "food starch-modified" or "modified food starch") is essentially corn starch which has been treated to gelatinize (swell) without cooking. If you have ever made instant pudding you are familiar with the phenomenom. Instant pudding contains instant starch, which allows you to prepare it just by whisking the powder into cold milk. The reason we add it to cookies is to let us use less flour in a recipe without having a runny batter. Adding less flour means a less-dry dough which in turns means a less-dry cookie.
But even all the instant starch in the world won't keep a cookie moist for a week. For this we need the other partner in our shelf-life extending duo—syrup.
I'm sure some of you are thinking this means the supposed enemy of the free-world, High Fructose Corn Syrup. I won't lie to you—HFCS is a really great ingredient for keeping baked goods soft. The thing is, in order to keep something soft you need to make sure that water stays in your product. The best way to do this is to add ingredients which love to hold on to water. Syrups like HFCS, molasses, honey, invert sugar, agave, maple syrup, and glycerin are hygroscopic, which means they hold on to water. Adding any of these to your cookie dough will make your cookies retain their water longer, but not indefinitely.
To summarize, instant starch lets you add more liquid to your dough while keeping it workable, and syrups keep that additional water inside the cookie where you want it. They are a match made in heaven.
But enough lecturing—let's make some cookies!
—Sam
Step 1:
Preheat your oven to 350°F. Make sure you have a rack in the middle of your oven.Really, does this need explanation? You have to cook the dang things.(^_^)
Step 2:
Pour the candy pieces into a cake-pan or pie-plate shaped container. Set the container aside until later.See, so far everything has been easy!
Step 3:
In the bowl of your favorite stand mixer, cream together 1 ¾ cup butter, ¾ cup granulated sugar, 1 ½ cups brown sugar, 2 standard boxes of instant vanilla pudding mix, 2 tsp baking soda, and 1 tsp salt.And the instant pudding makes an appearance. We add the pudding at this stage for a couple reasons. Firstly, instant pudding mix is around 80% sugar, so we add it with the other sugars. The second reason is that the instant starch component does really well when you let it get coated with the fat before adding the liquids later on.
Step 4:
Add 4 eggs, one at a time.Our dough up to this point is primarily fat, and we are trying to add a lot of water-type liquid in this step. Adding the eggs slowly allows an emulsion to form, which helps the dough be more consistent.
Step 5:
Add 1 Tbsp vanilla extract and 2 Tbsp molasses. Mix until thoroughly combined.And if you look to your left you will see our syrup poking its head out and waving. According to the USDA database, molasses is 29% sucrose, 12% glucose, and 13% fructose. The presence of the glucose and fructose is what makes molasses more hygroscopic than sugar.
Step 6:
Add 6 cups all-purpose flour and mix to completely combine.Step 7:
Scoop out 1 oz balls (walnut sized) of dough. Flatten the balls to a 2" diameter disc.I really dislike inaccurate forms of measurement. What we are looking for here are portions of dough that weigh approximately 30 grams a piece. You can either break out a scale, or do the better thing and use a spring-loaded disher in the #30-#40 range. This will yield a cookie around 3 inches in diameter, and will let you fit 12 cookies on a standard half-sheet pan.
By the way, the disher size refers to the number of portions per quart. For those of you who care, that means that this recipe yields around 2 quarts of dough.
Step 8:
Press each cookie dough disc into the dish of candies you prepared earlier. Carefully invert the cookies on to a parchment paper-lined half sheet pan or cookie sheet.No more than 12 cookies on a half-sheet pan.
At this point the dough should still be fairly soft and it will pick up the candy pretty easily. As you get to the end of the batch, the dough may have dried slightly, and it may take more effort to get the candies to stick. If they are being stubborn and don't want to stick, just put the dough on the cookie sheet and load the discs up with candy that way.
Step 9:
Bake the cookies at 350°F for 14 minutes, give or take a minute.If you are like me and enjoy watching cookies bake then this note will be interesting. Due to the combination of ingredients in this dough, the cookies will look like they won't spread for the first ten minutes of baking or so. Then all of a sudden they will start to expand and spread. It's kind of fun to watch. Not that I have done that......
Step 10:
After the 14 minutes are up, take the cookies out the oven, and let them sit undisturbed on their pan for at least 5 minutes. After five minutes transfer the cookies to a wire rack to cool completely.- Preheat the oven to 350°F.
- Pour the candy pieces into a pie pan or similar vessel. Set aside.
- Cream together the butter, sugars, pudding mix, baking soda, and salt.
- Add the eggs, one at a time, mixing well between each addition.
- Add the vanilla and molasses and mix.
- Add the flour and mix until completely combined.
- Scoop out walnut-sized balls of cookie dough, approximately 1 oz. Flatten to a 2-inch diameter disc.
- Press the cooke dough disc into the candies to cover one side with candy.
- Gently invert the disc onto a cookie sheet. No more than 12 cookies per half-sheet pan.
- Bake at 350°F for 14 minutes.
- Allow to cool on the sheet for 5 minutes before transferring to a wire rack to cool completely.
Store in an airtight container for up to 1 week or freeze for 6 months.
This recipe was printed from Dinner in the Life of a Dad (samslaugh.blogspot.com)


No comments :
Post a Comment